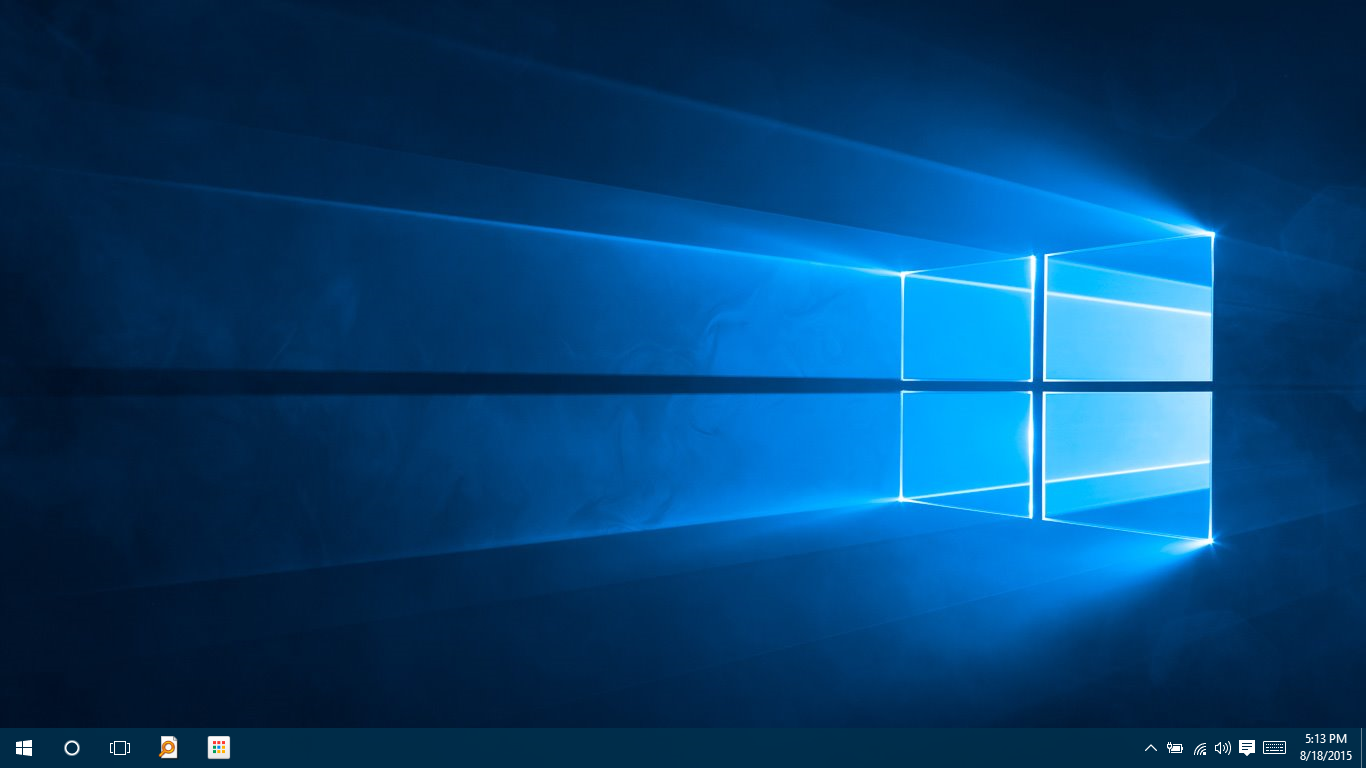
Windows 10 improves Windows 8 and Windows 7 in many aspects, Taskbar is definitely one of those. Start Menu is back, Start Button has already made his return in Windows 8.1 furthermore Windows 10 adds a universal search box in Windows 10 and also it adds a nifty Task View button. The Task View button also doubles as the Virtual Desktop Management system.
Taskbar in Windows 10 can be customized in many ways. You can resize it, move it to any other corner and replace almost all the buttons on Taskbar. So, let’s get started to customize Windows 10 taskbar.
Customize Windows 10 Taskbar
Changing the Too Big Search Box
Cortana sits right on the taskbar for easy access in form of a search box. If you don’t have too much screen real estate, the box creates problem in managing open Windows. You can change the box into a simple Cortana button or hide it completely from the task bar. You cannot enable the Search Box if you have moved the taskbar to Left or right side of desktop.
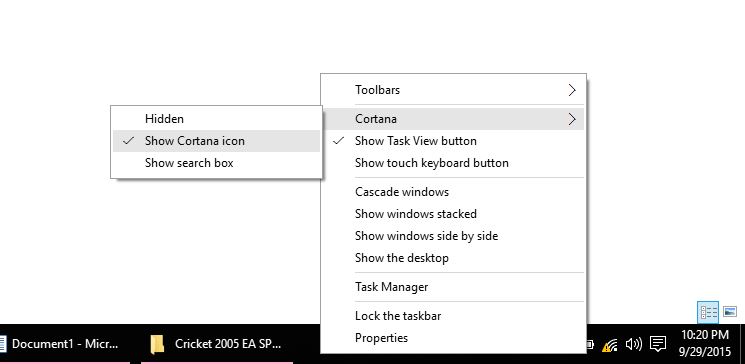
To do that Right Click on the any empty space in taskbar and point your mouse to Cortana, from there you can change to any search button or Box layout.
If you turn the Cortana Search box off, you can still search for files by opening the start menu and typing the keywords.
Enable Peek to Preview
Windows 7 introduced a new Windows Aero feature called Peek Preview. With this feature you can see the desktop temporarily by hovering the mouse pointer on corner of desktop.
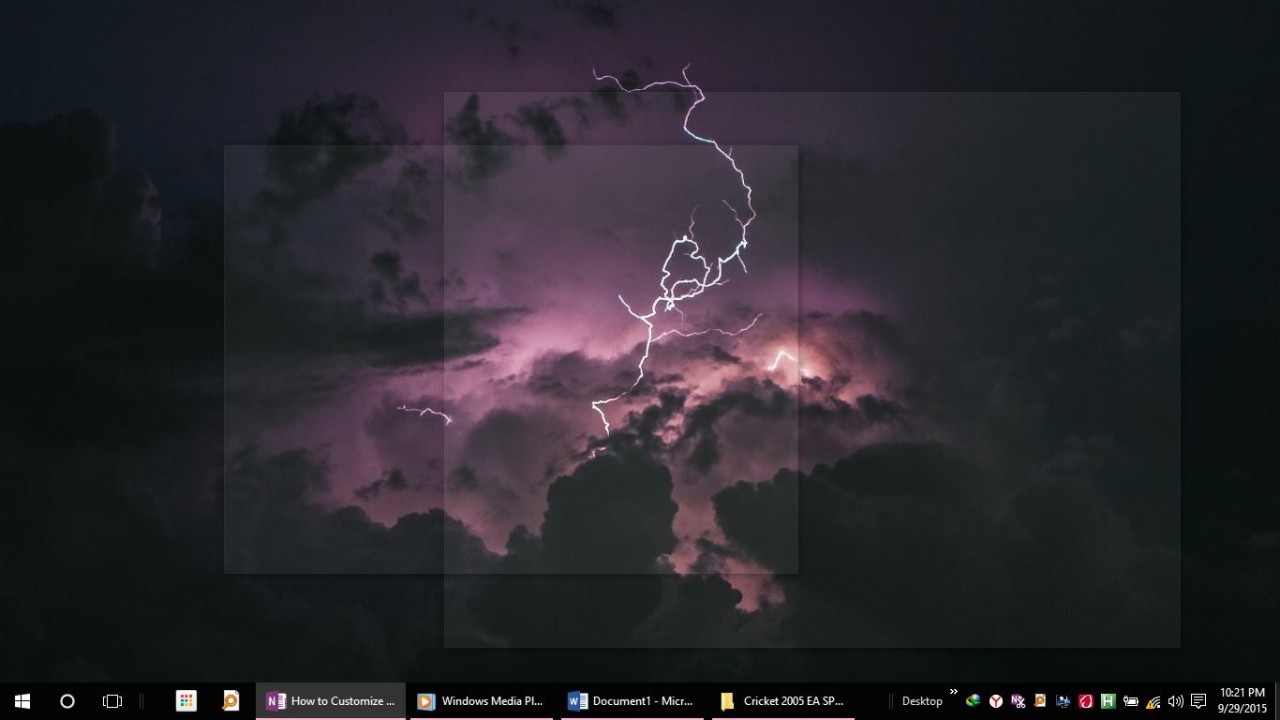
Peek Preview in Windows 10
Let’s Face it: Most of used it to hide what they were doing from others.

Taskbar Properties Dialog Box
In Windows 10 peek to preview is disabled by default. To enable it right click on any empty place of taskbar and click on Properties. From the task bar check the box as marked in the screenshot below:
Next time you can peak at your desktop by hovering mouse on the right corner of the taskbar.
Tweak Taskbar button combining
Starting from Windows 7, by default all Windows of same program are combined into one icon by default. It saves space on the taskbar, however it is also sometime annoying that you will have to click twice (or even more) to open the desired window. You can customize the taskbar by changing the setting according to your needs. Right Click on taskbar and click on Properties. From the dialog box, under the Dropdown Menu labeled as Taskbar Buttons You can change the taskbar button combining.
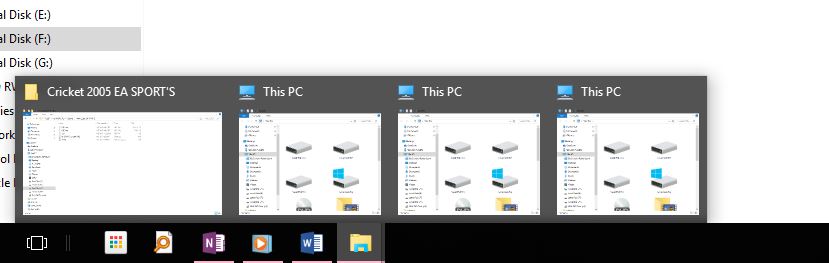
Taskbar Buttons: Combined

Taskbar Buttons : Non combined
I find the option “Combine when Taskbar is full” the best, because it works according to the number of open windows.
Enable the Recent files Toolbar
You can add a toolbar button on the taskbar to make access all recently opened and edited files easily. To add the recent files menu on your taskbar click here.
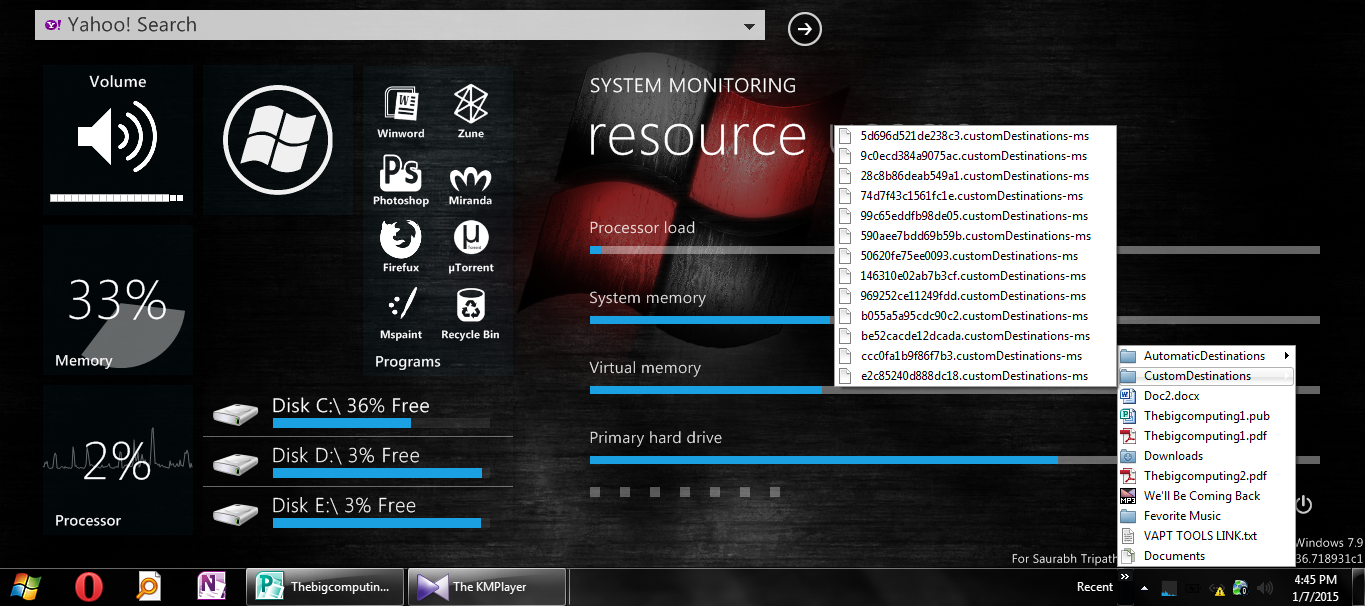
Recent Files On Windows Taskbar
Hide the Touch Keyboard button
There is no sense of having a Fat button to open virtual keyboard on computers without touchscreen. To hide the button from taskbar Right Click On any empty space on taskbar and Uncheck Show Touch Keyboard Button.
Save Space on a small screen
By default the taskbar is big enough to take notable space on the taskbar. If you are using a netbook or a laptop with a small screen you would want to claim that screen space for your windows. To hide the taskbar or make it slimmer open the taskbar properties and select between Auto Hide the Taskbar or Use small icons.
You can use both, but it just makes the problem worse.
Do you have any other tip to Customize Windows 10 Taskbar? Be sure to share with me in comments.
For more, don’t forget to subscribe to Getting Geek.